Editor/Compositor Miwa Yanagida used DaVinci Resolve Studio to edit and finish anime series LUPIN ZERO, from video storyboards to adjusting colour and texture to outputting deliverables.
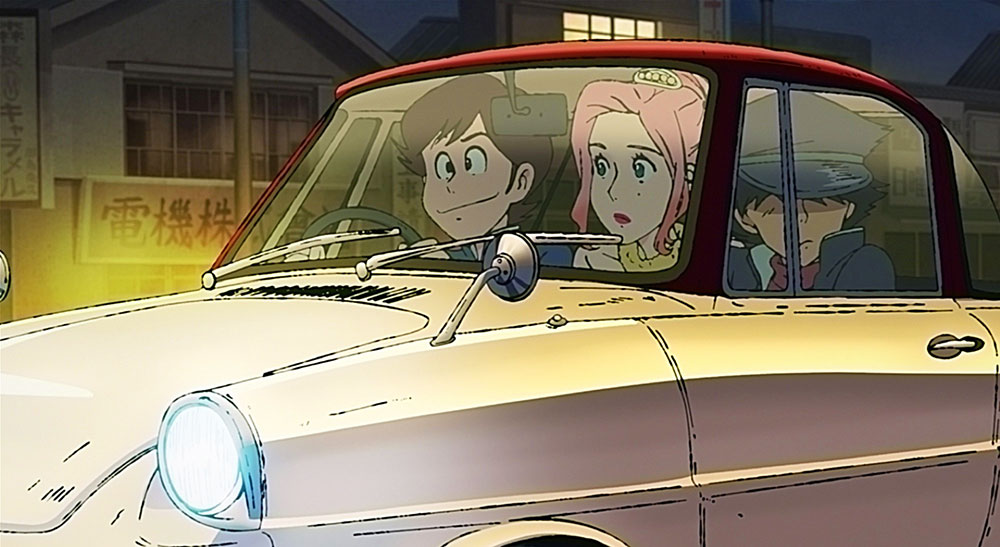
LUPIN ZERO anime series, streaming on DMM TV, is based on the long-standing manga and anime series ‘Lupin the Third’. It follows the adventures of master thief Lupin III, grandson of gentleman thief Arsène Lupin, and his gang of thugs. The original Lupin III manga began in 1967 in Weekly Manga Action, and the anime series began airing in 1971.
Since then, the title has expanded into TV specials, theatrical releases and spinoffs, maintaining long term series development. ‘LUPIN ZERO’, depicting the hero Lupin’s childhood, is produced by Telecom Animation Film, which has been involved in many of the Lupin the Third series.
From Storyboard to Video
“This work serves as a prequel to ‘Lupin the Third Part One’, so instead of adopting the current digital style, we focused on the texture and ambiance of the 1960s era. The production workflow remains consistent with recent anime productions, using Blender for layout and animation,” said Miwa Yanagida, an editor and compositor for Telecom Animation Film. She edited the complete LUPIN ZERO series using Blackmagic Design DaVinci Resolve Studio.
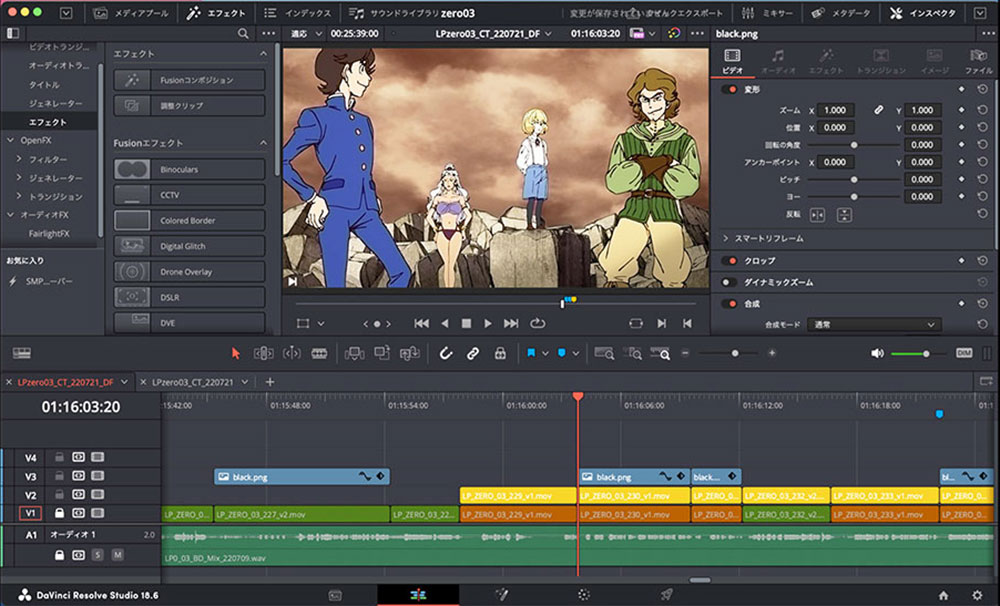
As well as editing the main content for the series, Yanagida created video storyboards to serve as a guide for the artwork, using the same Blender layout/animation workflow. “Because the storyboard covers the duration of each cut, I could edit those images according to the guide. By actually creating a video from the storyboard, we can quickly confirm the overall picture at an early stage, and the director and other crew can review this video board at anytime. If there are camera movements such as pans, I also add simple motions in DaVinci Resolve,” she said.
“Once the animation and backgrounds are completed, the shots are combined through compositing and we receive the clips of each composited cut. Then I replaced the video storyboard timeline with these segments and edited them accordingly. Since adjustments to dialogue and timing were necessary, I sometimes edited by removing frames or extending with still images, depending on the cut,” Yanagida said.
Adjusting the Look
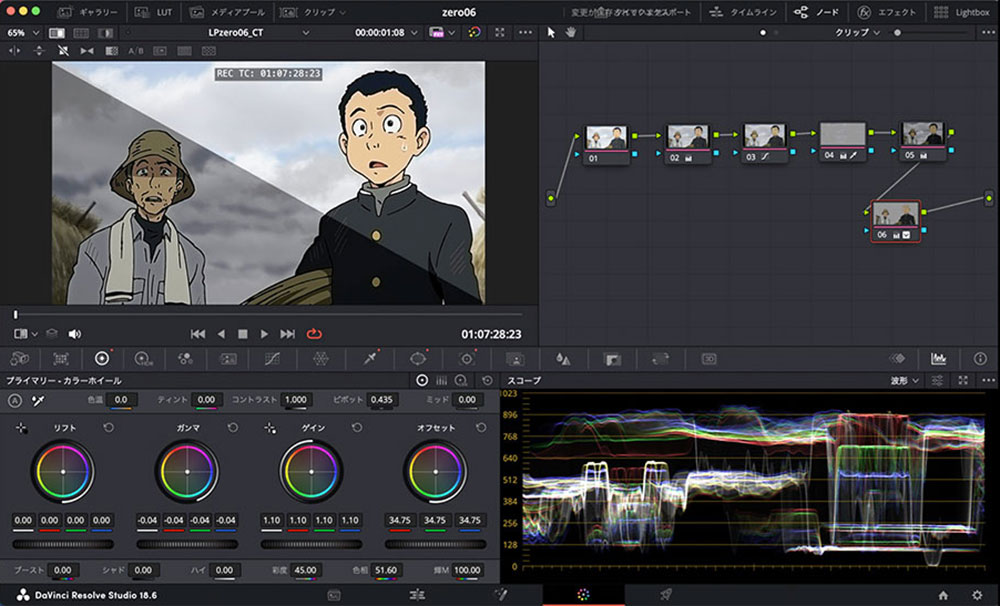
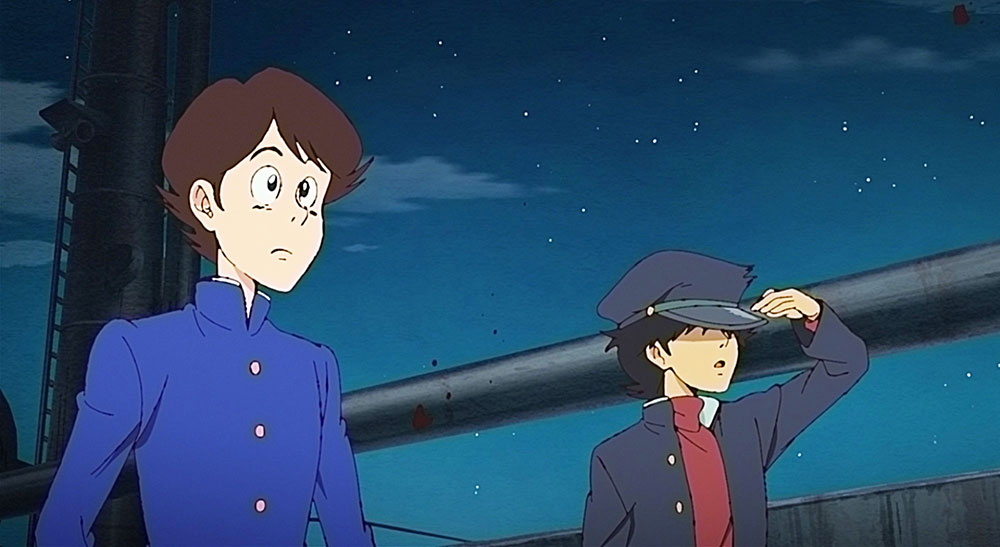
Furthermore, when requests came from the director to slightly enhance the quality, such adjustments could also be made in DaVinci Resolve Studio. “For example, at one point, the characters engage in a psychological battle atop a tower. While it’s not an action packed, high-impact scene, the director requested some subtle shadows,” said Yanagida. "Adjustments of this kind, such as adding background shadows and altering saturation, are sometimes needed to ensure the characters don’t get lost on the screen.
“In our tower scene, I added shadows to the stone walls and foreground using the Colour Page to create a sense of depth, and added shadows in other scenes for continuity. Because of DaVinci Resolve’s tracking feature, I could make these adjustments fairly quickly."
In other spots, they had scenes where she added light sources and haze. Using Resolve was more convenient than having to create caches or proxy media for this work to be added later, and the editorial team could see everything operating smoothly in real time.
Final Check in Post
"In typical anime editing workflows, the final check will be performed in post production to make sure the signal quality and colours meet the delivery standard. But making this kind of adjustment can be very time consuming at the post stage, and sending cuts back to the compositing company for corrections can also be quite daunting.”
However, in this project, Yanagida was able to handle the final fine tuning adjustments in DaVinci Resolve, as well as the editing work and tweaking of effects. The software’s fast rendering speed also allowed her to export to delivery formats very quickly.
www.blackmagicdesign.com
Sean Young
Editor


